Sunday, March 10, 2013

Chicken Tamales


Tamales from scratch are rather time consuming, but, oh my, are they so worth it! Absolutely delicious! And you can freeze part of the batch to enjoy at a later time, so you get two dinners out of one cooking session, and I am all about that! Here is the link to the recipe that I found online several years ago: http://www.pastrywiz.com/dailyrecipes/recipes/115.htm. I've made these many times since, and never been disappointed... except for that time I burned up my pot by letting all the water evaporate. lol I didn't know you could burn a hole through a pot, but take it from me, you can. So, check the water level often!


Tamale Filling:
2 lbs. lean, boneless beef or chicken
3 Tbsp vegetable oil
1/4 cup flour
1 1/2 cups water
2 tsp. beef base (or chicken - I've used both)
1 (7-ounce) can green chilies, chopped
4 large cloves garlic, finely minced
1 1/2 tsp. salt
1/2 tsp. dried oregano
2 to 3 tsp ground red chili pepper
1 Tbsp ground chili powder
1 Tbsp ground cumin
1/4 cup tomato sauce


In a large sauce pan, cook meat in water until tender. Cool slightly and shred.

In large skillet, heat oil until hot and add beef or chicken and cook until brown. Add the remaining ingredients in the order given. (I stir in the flour slightly, then add the water. I also add the chilies and garlic at the same time, and mix the spices in one bowl and add together). Cover and simmer for 45 minutes, stirring occasionally.


Soak corn husks in hot water for 30 minutes to make pliable.


Tamale dough (this is the recipe on the website):
1 1/2 cups lard
1 1/2 tsp salt
4 1/2 cups masa harina (corn flour)
2 2/3 cups warm water

This is the recipe I use:
4 cups Maseca
2 1/2 cups water
1 cup vegetable oil
1 Tbsp salt
1/2 to 1 tsp garlic powder


Tamale Dough (again, this is the recipe on the website):
In a large mixing bowl, beat the lard and salt until fluffy. Dissolve masa haring in warm water and add to lard mixture, beating well until all the ingredients are combined.

My recipe:
Put dry ingredients in a bowl. Add oil and water and mix well. Add water and mix until masa is smooth. It can't be wet, but if it's too dry, it won't hold together or spread on the corn husk easily.


How to assemble tamales:
Spread a thin coating of tamale dough over the cornhusk, allowing room at the bottom to turn down.

Spread filling down the center of the dough. Fold the sides of the husk firmly together. Turn up one or both ends.


If turning up both ends, tear some of the husks lengthwise in narrow strips and use for tying each tamale across the top flap.

To cook tamales:
Cook tamales in a conventional steamer or blancher. Fill the bottom of the steamer up to the level indicated and bring to a boil. When the steamer is dry you will need to add more water.

Line the steamer with corn husks, covering the bottom and sites. Stack the tamales upright.

Place the tamales firmly but not too tightly, because the husks swell as the dough cooks. Cover the tamales with more husks and the top of the steamer with a thick cloth to absorb the moisture. Cover with a tight fitting lid.


Steam for about 2 1/2 hours. To test the tamales for doneness, remove one from center of the steamer. The dough should peel away easily from the husks and be completely smooth. The dough should also appear spongy and well cooked throughout.




Lunch Lady Brownies


Is there anything better than chocolate? I don't think so, which is why I've been going through so much cocoa and bar chocolate lately. I made a triple chocolate pound cake two weeks ago, and brownies last week. Then I found this recipe, Lunch Lady Brownies, on Pinterest and just knew that I had to try it. They. Are. So. Good! But really, a chocolate brownie topped with chocolate icing... how could that not be amazing?

1 cup butter (I use Country Crock margarine)
1/2 cup cocoa
2 cups all purpose flour
2 cups sugar
4 eggs
4 tsp vanilla
1 cup chopped nuts (optional)


Preheat oven to 350 degrees, and grease and flour baking pan. There is some flexibility here. The recipe calls for a 9X13, but I used a 12X17. You will need to adjust your baking time if you use a different size pan. Melt the butter in the microwave. Add the cocoa and mix until smooth. Add the flour and sugar.


Add the vanilla and eggs. Mix until combined but do not over mix. Pour into prepared baking pan. NOTE: batter is not thin, you will need to spread it into your chosen baking pan. Bake for 20-25 minutes (if using a 9X13). I baked for about 15 and could have stopped even earlier I think. Point again - watch your oven!

While the brownies are baking, prepare the icing.

1/4 cup butter (unsalted)
1/4 cup milk (or cream or half and half or condensed milk)
1/4 cup cocoa
3 cups powdered sugar
Dash of salt


Mix until well blended. Let brownies cool about 10 minutes and then frost them.


Crusty Rustic Bread


I think bread is heavenly. All kinds of bread. I love bread. Did I mention how much I love bread? So, because I love bread, I have begun trying to make my own. I've tried a number of recipes so far, and some have been great successes, and some... well, let's jus say, I'm learning. I found this recipe on Pinterest, and gave it a shot this weekend. Here is the link to the original post: Crusty Rustic Bread. This recipe was very, very, very easy. No kneading. No fuss. Just time, and lots of it. This bread needs to rise for 12-18 hours, so you need to mix it and set it to rise the night before you want to bake it. Here's the recipe:


3 cups all-purpose flour
1 3/4 tsp salt
1/2 tsp active dry yeast
1 1/2 cups warm water (about 110 degrees)

In a large mixing bowl, whisk together flour, salt and yeast. 


Pour in warm water and stir mixture with a wooden spoon until a shaggy ball forms. 


Cover bowl with plastic wrap and allow to rise for 12 - 18 hours (on the counter at room temperature).


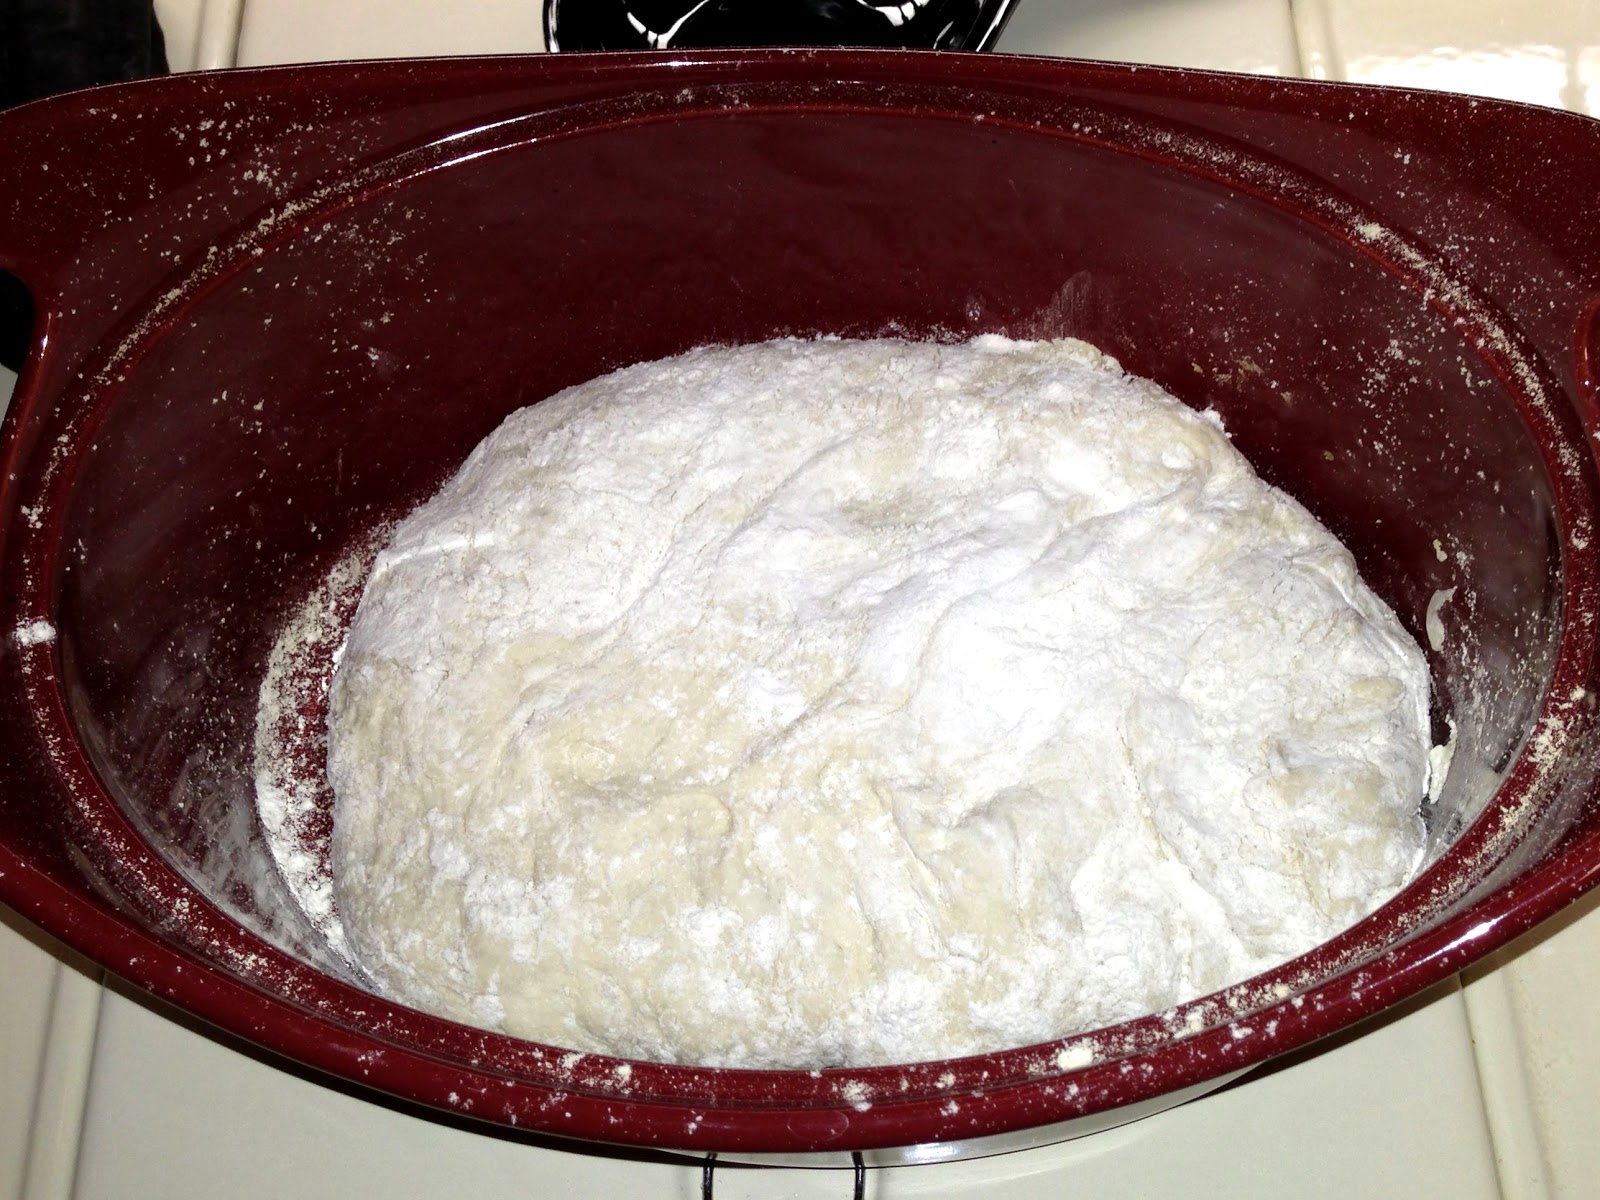
Heat oven to 450 degrees. Once oven has reached 450 degrees, place a cast iron pot covered with lid into preheated oven, heat pot for 30 minutes. Note, I don't have a cast iron pot, and some recipes I've seen have called for a Dutch oven - which I don't have either. What I do have and have used with decent success so far is a Rachael Ray casseroval dish with lid that is safe up to 500 degrees.

Meanwhile, turn dough out onto a heavily floured surface then shape dough into a ball. Cover dough with plastic wrap and allow to rest while pot is heating. 


Remove pot from oven and with floured hands, carefully drop dough into hot pot (you DON'T need to grease the pot) cover with lid, then immediately return pot to oven and bake 30 minutes (at 450 degrees). 


After 30 minutes, remove lid from pot and bake uncovered for 15 minutes (my oven runs hot, so I turned the oven down to 400 degrees after about 10 minutes and cooked for about 20 minutes more, then turned down to 350 degree for another 10 minutes. Point is, check your bread and know your oven). Remove from oven and allow bread to cool on a cooling rack. Once completely cooled, bread stores well in an open paper bag (it helps the bread maintain it's crisp crust. I wouldn't recommend storing it in an airtight container or ziploc bag).


Recipe Source: adapted from Simply So Good, thank you for such an incredible post!