Showing posts with label cheddar. Show all posts

Wednesday, December 21, 2016

Hashbrown Cheesy Casserole


This casserole is amazing! It's creamy and cheesy and delicious and a perfect addition to a regular meal, a special meal, a potluck, or a holiday meal. I love potatoes in pretty much every way possible, and this recipe does not disappoint. This is supposed to be a copy of Cracker Barrel's hashbrown casserole, and I found two recipes that were just slightly different, so I made my own decision on how to prepare this.

26 oz bag frozen hash browns
1/2 cup margarine or 1/2 cup butter, melted
1 (10 1/4 oz) can cream of chicken soup
1 pint (16 oz) sour cream
1/2 cup onion, peeled and chopped
1 cup shredded cheddar cheese
1 cup shredded Colby cheese
1 tsp salt
1/4 tsp pepper


Preheat oven to 350 degrees. In a large bowl combine melted butter, cream of chicken, onion, and sour cream. Stir until well blended.


Stir in potatoes, cheese, salt and pepper.


Grease a 9x13 baking dish. Pour hashbrown mixture into baking dish.


Bake for about 45 minutes until top is golden brown. Enjoy!


Saturday, January 16, 2016

Squash Casserole


It took me years to get around to eating squash. I mean, literally, years. I was in my 30s before I tried it. I'm still a little limited in how I eat it. I either like it raw and sliced or this casserole. This casserole is so flavorful. I'm sure you'll enjoy it if you give it a try. I got this recipe from my mom, but I'm not really sure where she found it from all of those years ago.

2.5 to 3 lbs of squash (cubed)
1 large onion (diced)
1 stack saltine crackers (crushed)
3 Tbsps melted butter
1 egg
1 cup milk
add salt and pepper to taste
1 to 2 cup shredded cheddar cheese (save 1/4 cup of cheese for later)


Cut squash and dice onion.


Cover with water and boil squash and onion with salt and pepper until squash is fork tender.


Drain water and mash squash until you reach the texture you prefer - I do not like large chunks of squash, so I mash mine quite a bit.


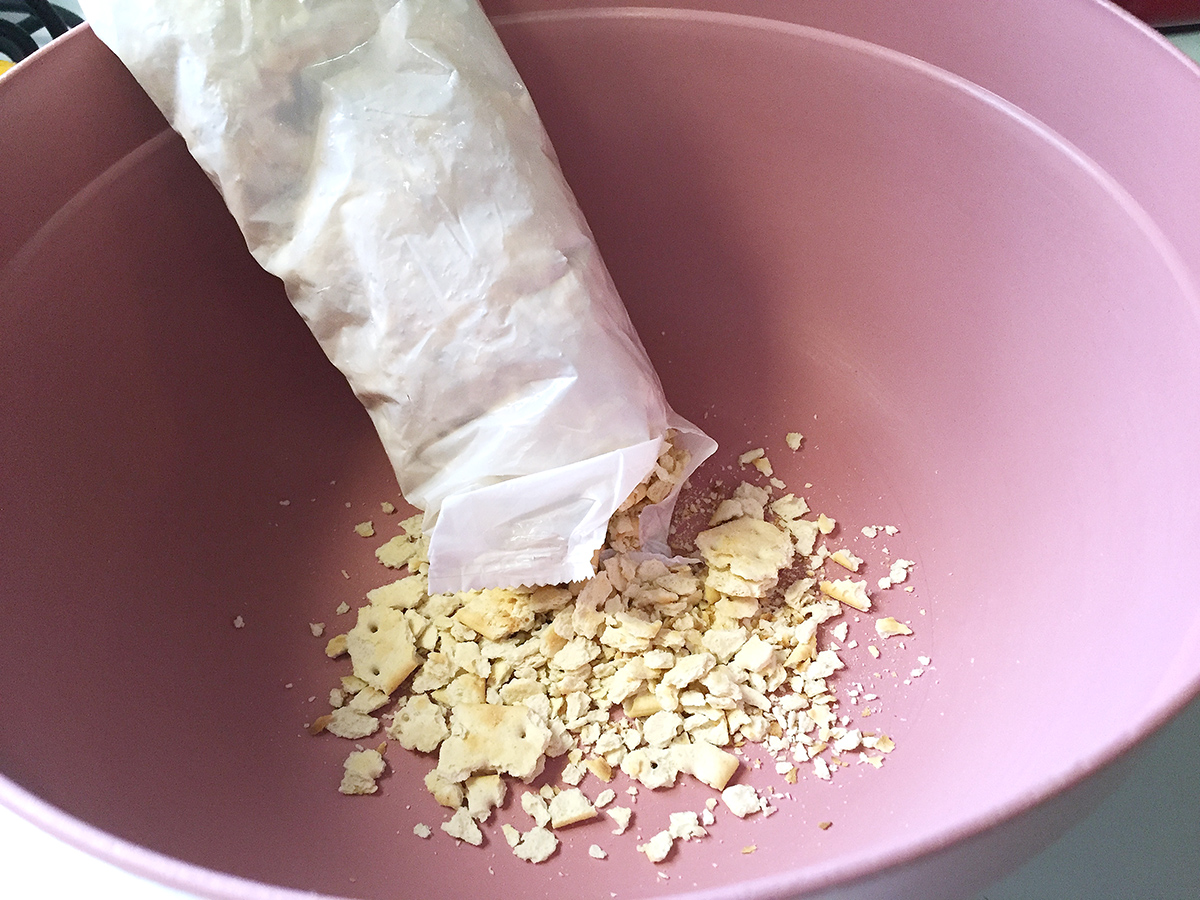
While squash and onion are cooking, gather remaining ingredients in a large bowl. Start with the crackers - a trick I've learned when you need to crush a whole pack of crackers is to push the crackers down to one end and then force them into a slant with your fingers. Then start crushing. Do this over the bowl you're using to catch any crumbs. When it feels crushed enough, then just open one end and pour the crumbs in the bowl.


 Add the egg, milk, melted butter and most of the cheese to the crackers.


When squash is cooked, drain water and mash squash and onion.


Combine with other ingredients and mix well.


Pour into a greased casserole dish, and bake at 400 degrees about 45 minutes or until top is golden brown.


Sprinkle remaining cheese over hot casserole.


Wednesday, July 2, 2014

Nachos


If you've looked through much of my blog, then you've already figured out that I love Mexican food. Here's another installment of my Mexican-ish dishes.

These nachos have a long history at my house. My dad started making these when I was rather young - I know before I was 10. I know this because that's about how long I've been making them for myself and my friends. Nearly every one of my friends who stayed the night with me at some point tried these nachos. I took what my dad started with and turned it into an art form. 

A funny story about these tasty treats... several months after moving to the South when I was 15, I went out one night with some of my new friends. When I returned, my mom said to me, "You'll never guess who called almost right after you left." I said, "BECKY!!!! Can I call her back???" Becky was my best friend from New York, and I missed her terribly. As calm as could be, my mom said, "No need. She was calling for the recipe for nachos. We told her what she needed to make them and how." I was crestfallen. lol The other day on Facebook, Becky posted that she was going to treat herself to some of these nachos, and I responded that it was probably high time I did a blog on these bad boys. She agreed completely!

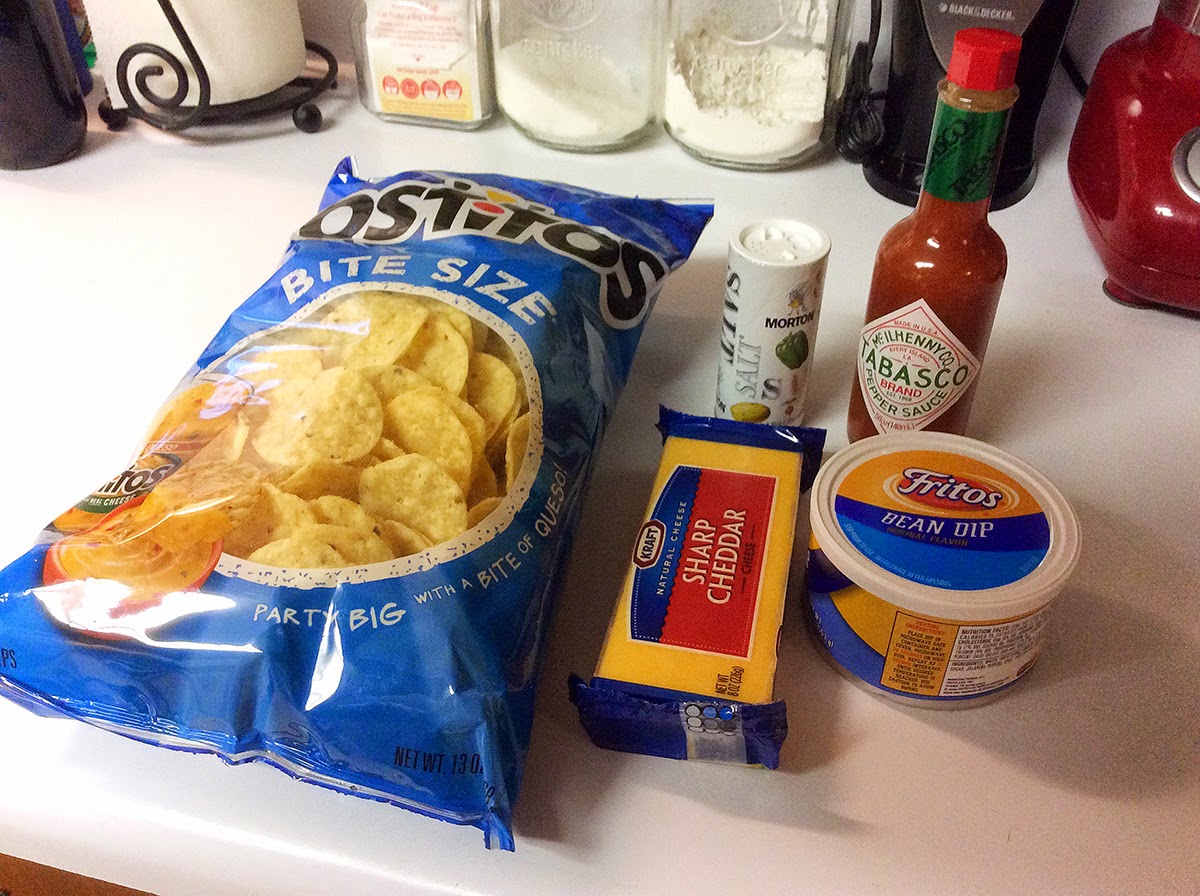
They are not hard, but you need to use the right ratios between the ingredients to get the right taste. If you use too much bean dip, the chips will get soggy; too little and they are dry. Use too much cheese and it will overwhelm the other ingredients; not enough... well, you get the picture. Here is all you need for these amazing treats:

Bite Size Tostitos
1 can Fritos bean dip
Block of cheddar cheese (I prefer sharp or even extra sharp, but any will work; I also almost exclusively use Kraft)
Tabasco sauce
salt


These really are easy; it just takes a little time to get it right, but it is so worth it. 

First, line your baking tray with aluminum foil. Many many years ago I tired of scraping and scrubbing melted cheese off the tray and learned my lesson. Please don't learn this the hard way. 

Then start prepping the nachos. Take a chip and apply a thin coat of bean dip - I probably use about 1 tsp or so (and no, I've never in my life measured it) per chip. Then cut a thin slice of cheddar for each chip - I'd guess that my cheese is about 1-2 mm thick. Then apply a dot of Tabasco. I've gotten heavy handed with the Tabasco as I've aged - on purpose. Although I usually try and create some light ones also in case they start to get too hot for me. Here's a photo that shows the different steps:


I only did this tray for you. I always do the entire thing in stages: chips and bean dip; cheddar; tabasco. Place in 350-400 degree oven and bake until cheese is partially melted. It will continue to melt a little once removed from the oven. If you wait until the cheese is melted and all blending together, then your nachos will be much harder to separate and will be missing much of the cheese you intended for each one.

 I lightly sprinkle salt over the tray, and then serve immediately. Did I mention that these nachos are amazing? The Tabasco can begin to burn your tongue after several of these, so one way I avoid this is by bending the chips in half before eating. Another trick I do sometimes is to make a nacho sandwich - use a heavy Tabasco/heavy cheese with a light Tabasco/light cheese and stack them chip side out to each other. I know, you're not supposed to play with your food, but these are just too fun not to! lol

Wednesday, May 14, 2014

Brussels Sprout Gratin


I wish I could tell you that my daughter absolutely loved this recipe, but actually she didn't. My daughter would much prefer to have just a plain Brussels sprout pile on her plate. Which I like as well, but I'm always on the lookout for a new way to fix a vegetable I like. And even though she did not like this one, I, on the other hand, liked it very much. I think if I make it again I will add a little bit more cream mixture and cheese, but the flavor of this Guy Fieri recipe is fantastic. You can find the original recipe for Brussels Sprout Gratin on the Food Network website. This was the first time I've tried panko breadcrumbs, and WOW! You will be amazed and the flavor and crunch they have. Really good!

1 lb brussels sprouts, cleaned and trimmed
3/4 cups grated sharp Cheddar
1 Tbsp all-purpose flour
1 tsp picked fresh thyme leaves
1 clove garlic, peeled and minced
Kosher salt and freshly cracked black pepper
1 cup heavy cream
1/2 cup panko breadcrumbs
1/4 cup grated Parmesan
1 to 2 Tbsp extra-virgin olive oil
1 Tbsp chopped fresh flat-leaf parsley


Preheat the oven to 350 degrees F.

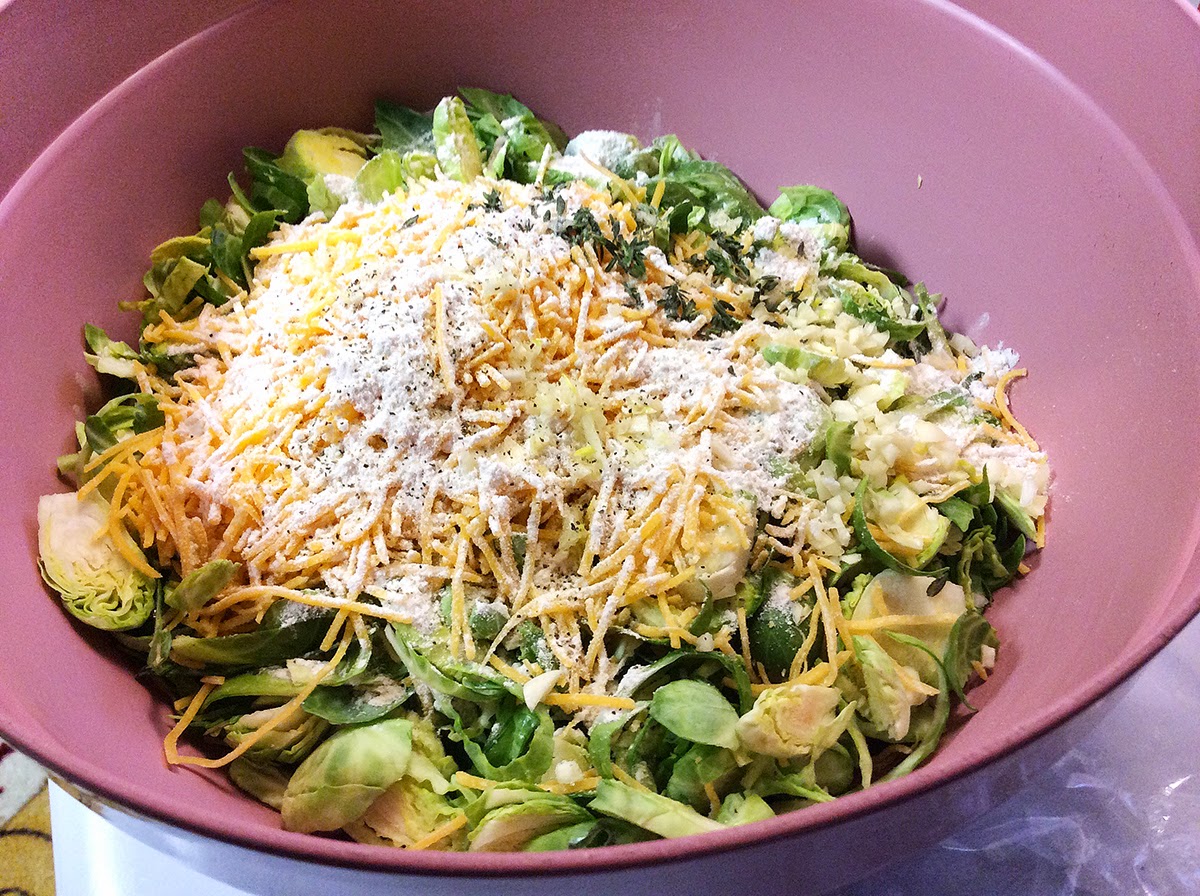
Shave the brussels sprouts horizontally into 1/8-inch slices with a sharp knife or mandoline. Add to a bowl. Add the Cheddar, flour, thyme, garlic and some salt and pepper to the bowl. Toss to combine.

 
Add the mixture to an 8- by 8-inch baking dish, packing it in. Pour over the heavy cream.


In a small bowl, combine the panko, Parmesan and oil and pour over the Brussels sprout mixture.


Bake uncovered until the Brussels sprout are tender, the sauce is bubbling and the top is golden, 25 to 30 minutes. Garnish with the parsley and serve.